|
I think I would rather do a print as my final task. I have been enjoying learning allot about filming however I feel I am more confident using Photoshop. I will have to take my own photographs for this, and as I have a keen interest in photography I think print would suit me better. Also I read lots of magazines in my spare time therefore I know allot of conventions a magazine needs.
From this basic clip, I learnt how to make my shots look more fluent and flowing. I have to add a transition in-between clips by dragging, and in-between each shot can be different transitions.
Filming went well, we used the 180 degree rule, the shot/reverse shot and the match on action shots. We also took 3-4 shots of each shot to ensure when editing we have the best one. Some issues when filming could have been the lighting once we went outside. Also if the shots we took will edit well when put together, that clearly shows the three techniques we need to show in our short clip. EditingThis was our first day of editing. We uploaded all of our footage onto iMovie, and then as we shot the same scenes more than once, we chose our favourite ones to be in our final footage. After doing that we started to cut bits out of each of the clips that were unneeded. I think I did well getting to grips with using the iMovie software; however I do need more practice to learn how to edit all what we want when we reach that point in our editing. I think cutting the clips went well, as we kept playing the sequences back to ensure we were cutting out the right bits. I had difficulties making the sequence look fluent and not just cutting/jumping from each shot.
Two different shots need to match up to create one smooth action. Shot/reverse shot Switching between characters to show the convocation between 2 people. So you film one person talking, then the other then back to the original speaker. Usually filmed by a shot over the shoulder. 180 degree rule There is an invisible line the camera cannot cross when filming. So that the audience doesn't get confused and the same person is always on the left or right, they don't switch. Therefore you always have to stay on the same side of the invisible line when filming. 
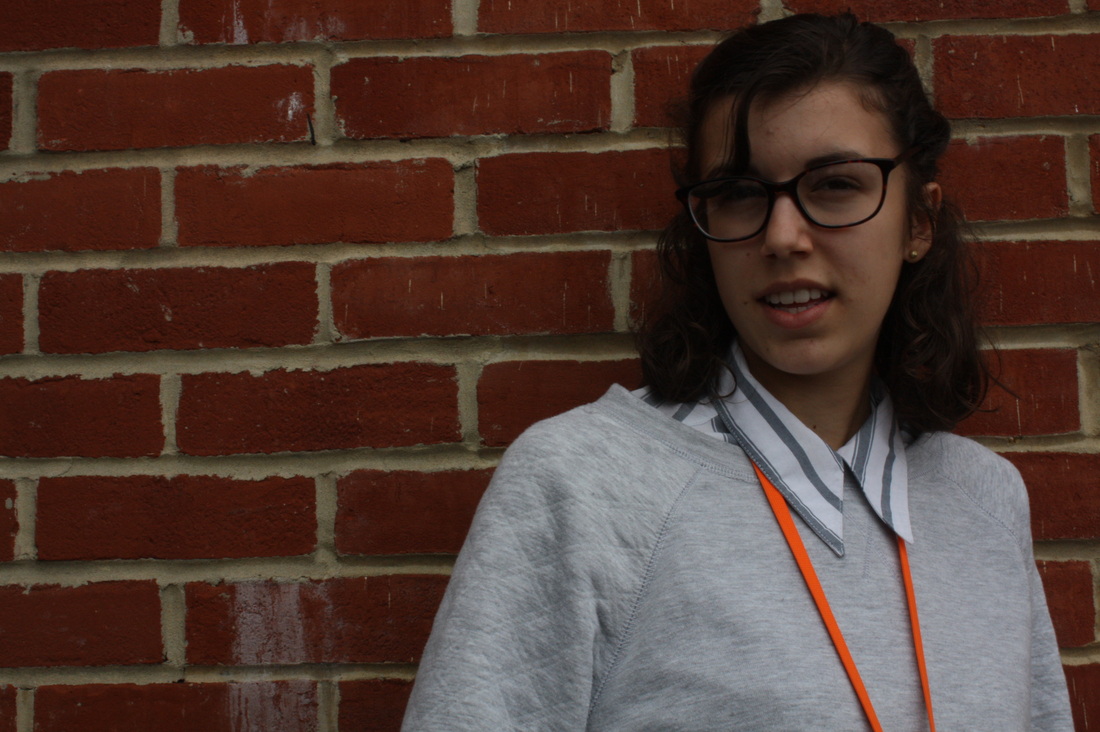
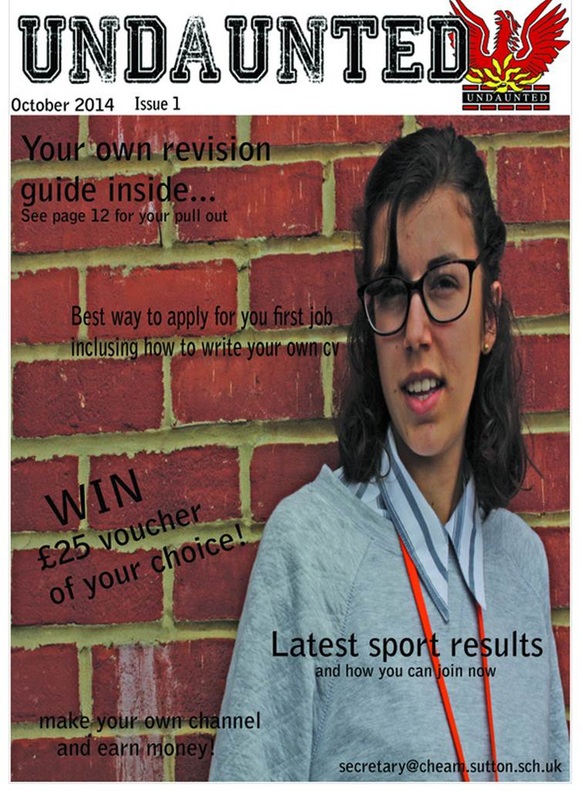
The lighting in this photo is quite dark; however I can change this on Photoshop. I like the brick background as it’s something different, but when I come to make my magazine on Photoshop the background might not look as good when I put writing over it, I would have to use a font that stands out especially the Masthead.
1. The quick selection tool - easy to select a section in your photo e.g the background. 2. Refine edge - You can change colours on this, the contrast, smooth, feather and shift edge. This changes the background you selected if you are on the right layer. 3. You can copy and paste a background image you want e.g of Google Images. On the right hand side, there's a box displaying your layers, you can move them around to ensure your subject is in the foreground of your picture. If you want 2very similar background images (or2 of the same just smaller to get the detail clearer) Place them together and use the blend tool to merge them together. 4. Filter - Nik Software - Color Effex Pro 4. Click on the layer you want to manipulate. You can pick an effect to use while altering the colour, contrast, brightness, blur, shadows and highlights of the image selected. 5. Filter - Blur - Tilt Shift. Controls parts of the layer selected that you want to blur e.g the top and bottom third. 6. Can add text, change fonts, effects, sizes and colours etc.. 7. Colour picker tool. This allows you to get the exact same colour as another part of your image to make sure the colours in your product are consistent. 8. Image - Alterations - Curves. This alters the exposure to light your image is getting - Making it lighter or darker. |
PRELIMINARY TASKKatie Pidgeon ArchivesCategories |
 RSS Feed
